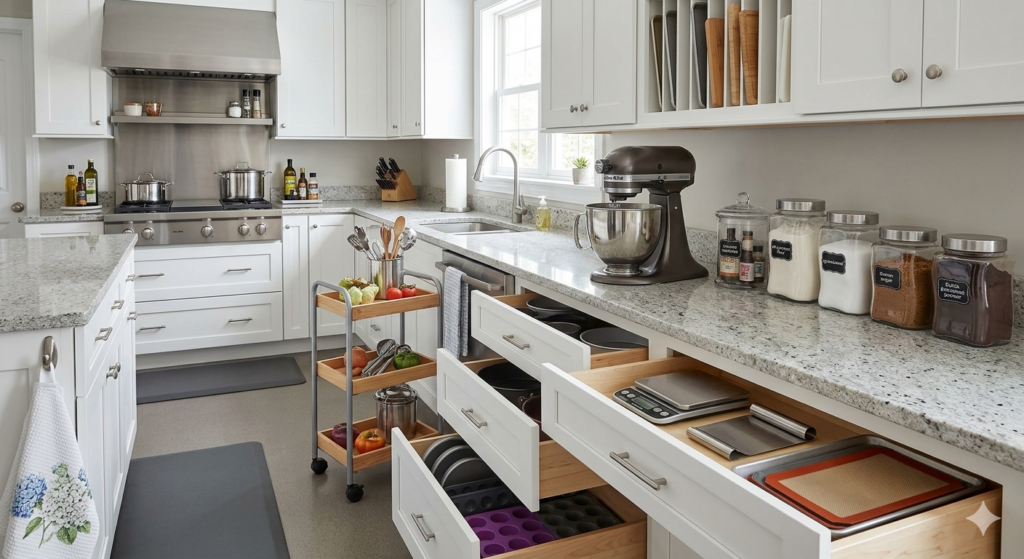
Kitchen Organization
My Personal Kitchen Philosophy: Function Over Tradition
I believe a kitchen should work for the person using it. My approach isn’t about following standard organizational rules; it’s about arranging my space so that it supports the way I actually move and bake. This is the system that works for me.
Organizing by Station
I don’t store things by category; I store them by activity. I’ve organized my kitchen into specific “stations” where everything I need for a task is kept exactly where that task happens.
- The Baking Station: All my flours, sugars, and measuring tools live exactly where I prep my dough.
- The Range Station: My oils, seasonings, and most-used utensils stay within arm’s reach of the heat.
- The Prep Station: Knives and boards are positioned where the heavy lifting of meal prep occurs.
Eliminating Friction
I have ADHD, so my goal is to eliminate unnecessary steps. If I find myself walking across the room to grab a specific tool every time I’m at the stove, that tool is in the wrong place. By placing items where they “land” naturally during my routine, I remove the friction that usually makes cooking feel like a chore.
Practicality First
This system isn’t about aesthetics or what looks “correct” in a magazine—it’s about logic. When my tools are exactly where I need them, the kitchen flows better, and I can focus on the recipe instead of the search. This is how I manage my space, and it has changed the way I work.
This version gets straight to the point while still feeling warm and personal. Do you think this is ready for the page, or do you want to tweak that ADHD mention at all?
To balance your personal philosophy with objective, high-utility content, you can add a “Kitchen Standards & Resources” section. This provides value to your readers by giving them quick-reference data they can use while cooking.
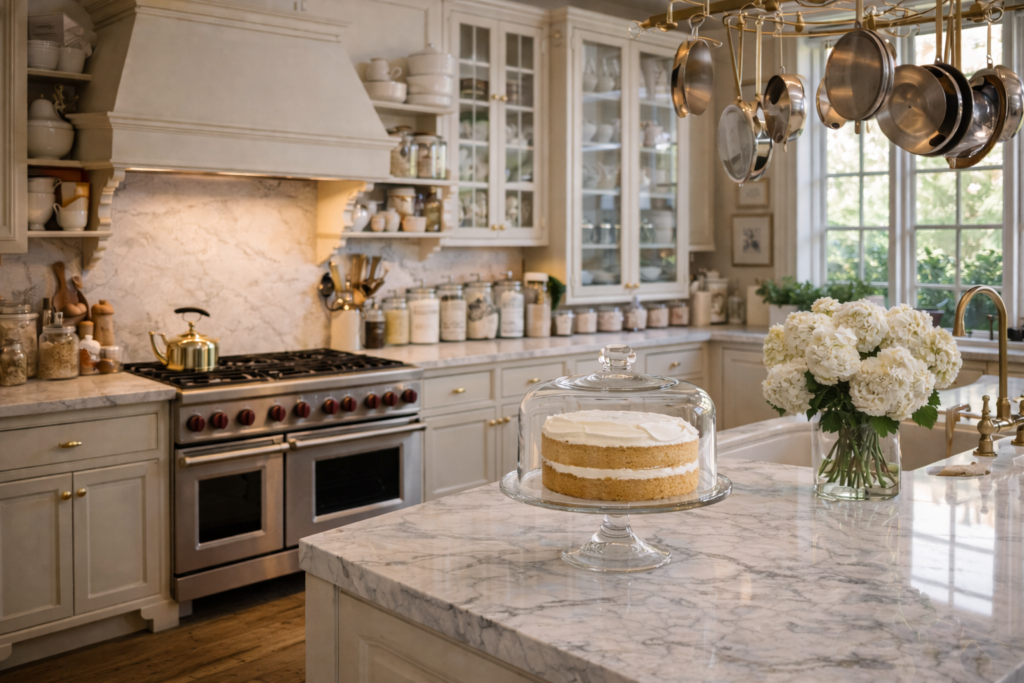
Kitchen Essentials: Reference & Standards
While my kitchen is organized around my personal workflow, these are the universal standards I rely on for consistency and food safety.
Common Baking Conversions
Accuracy is the foundation of a successful bake. Use these standard equivalents for quick adjustments:
| Unit | Equivalent |
|---|---|
| 1 Tablespoon | 3 Teaspoons |
| 1/4 Cup | 4 Tablespoons |
| 1 Cup | 16 Tablespoons / 8 Fluid Ounces |
| 1 Pint | 2 Cups / 16 Fluid Ounces |
| 1 Quart | 2 Pints / 4 Cups |
| 1 Gallon | 4 Quarts / 128 Fluid Ounces |
Temperature & Food Safety
Maintaining the correct internal temperature is critical for both texture and safety.
- Room Temperature Ingredients: For baking, “room temperature” is typically between 18°C and 21°C. This allows fats and liquids to emulsify properly.
- The Danger Zone: According to the USDA, bacteria grow most rapidly between 4°C and 60°C. Foods should not be left in this range for more than two hours.
- Oven Calibration: If your bakes are inconsistent, your oven may be running hot or cold. I recommend using a standalone oven thermometer to verify the actual temperature.
Proper Ingredient Storage
To maintain freshness and prevent waste, I follow these factual storage guidelines:
- Flours: Best stored in airtight containers in a cool, dark place. Whole grain flours should be refrigerated if not used within three months to prevent the natural oils from going rancid.
- Leavening Agents: Baking powder and baking soda lose their potency over time. Test baking powder by adding a teaspoon to hot water; if it bubbles vigorously, it’s still active.
- Fresh Herbs: Treat hardy herbs like rosemary or thyme like a bouquet; place the stems in a small glass of water and store them in the fridge.
External Resources
For more in-depth technical information, I recommend these professional culinary resources:
- USDA Food Safety and Inspection Service: For comprehensive food handling guidelines.
- King Arthur Baking School: For technical deep-dives into flour types and hydration levels.
- NIST Handbook 133: For official U.S. weights and measures standards.
Does adding a resource table like this help ground the page in the factual “straight-to-the-point” style you’re looking for?